Settings used for our projects.
File > Import > Audio is how to import a piece of sound.
I learnt that its important to look at the sound file description such as length, type, bit depth and so forth. The file can either be converted to a certain type or added straight to the project timeline.
Timeline of my project, with a piece of sound imported.
These tools control how to control a clip, such as splicing it up, moving it along and so forth. If you click the top bar above the icons, it will select them all and allow you to use a mixture of the tools.
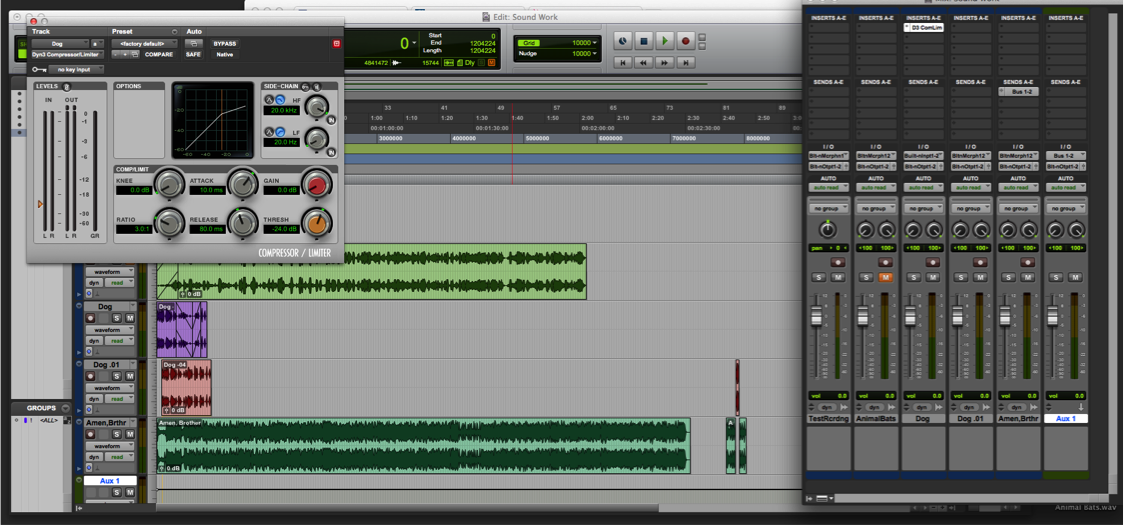
Once clips have been imported, we can go to audio suite and choose the Compressor tool. This allows us to change the levels of the sound.
Track names can be changed and the drop down menu allows you to see the view of the clip, such as a view of the volume or wavelength.
When exporting, you select Bounce to > Disk and choose the setting you require.


No comments:
Post a Comment